Roles and permissions
Roles
A role functions as a bag of permissions for the user.
A role has 3 properties:
1) a role name;
2) a description;
3) a list of permissions.
A role has 3 properties:
1) a role name;
2) a description;
3) a list of permissions.
Account-level roles
Check the Roles table in the Global Management -> User Management page, for a list of the roles available in your account:
Scroll down to the bottom of that page:
You can consult existing roles here, create new roles or edit existing ones (given you have the permission to do the last 2).
Let's create a new role:
The role is now created, but it needs to have permissions to do anything:
When entering this screen and clicking on the Permissions empty field, you will be presented with a drop-down menu of permissions available the the account-level:
You can either click on each one you want (keep pressing the Ctrl key if you want to choose multiple permissions without having to do this process one by one) or start typing part of the permission until it shows and you can select it.
Once you are happy with the permissions you have, just hit save and you can leave that page.
Now we need to add that role to someone at the account level. Make sure you are adding these roles/permissions always to the right users. Enter a user's details of your choice:
Inside the user details just click on the Roles field:
Hit save and you have now this role at the account level!
Client-level roles
First ensure that your target permission is available in your client:
Now select any permissions you want from the left menu below, once done, just hit "Submit":
Once done, go back onto the main clients menu and enter your client of choice and then Client User management: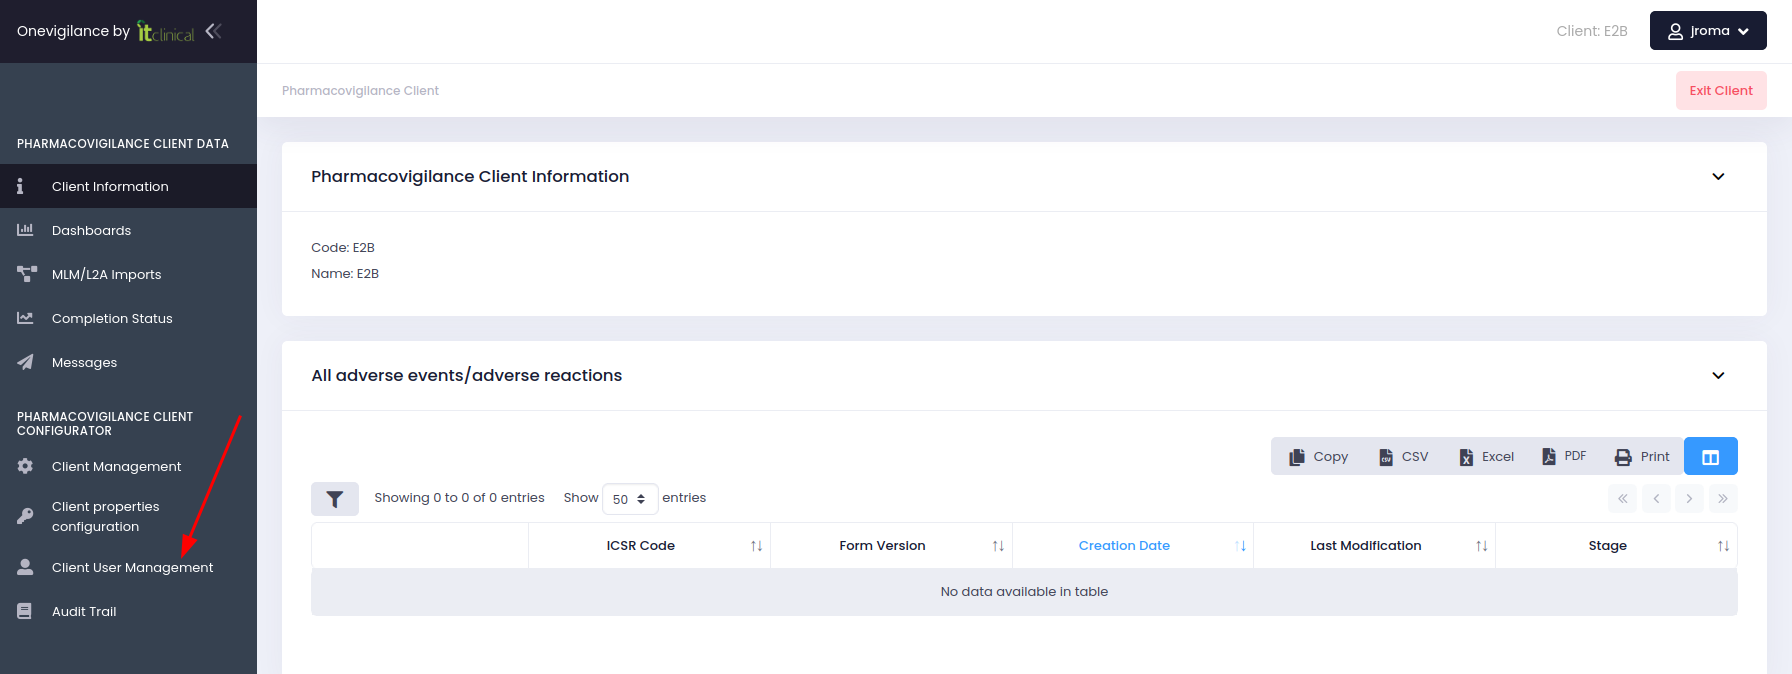
At the bottom of that page create a new role (or edit an existing one) with the permissions you want, and then add that role to a user, just as shown in the process above for account-level roles.
Related Articles
Signing and stage transitioning an answered form
Inside your answered form, select the stage you want to transition your form to (1) , and then click on the blue button to the left of that selection (2): A pop-up to confirm your credentials will appear, once that's confirmed just click on the green ...Adding/eliminating a module and/or group in an answered form
Depending on the form design you chose, but also the user permissions you are given, you can add (or eliminate) a module or group iin your answered form. This can however only be done in duplicable modules and/or groups. Adding For instance, in the ...